 listicle
5 Best Drone Photography Tips for Beginners
Table of Contents
- 1. Master the Best Camera Settings for Drone Photography
- 2. Apply Composition Techniques for Better Aerial Photos
- 3. Choose the Right Time and Lighting Conditions
- 4. Understand FAA Part 107 Drone Certification Requirements
- 5. Master Flight Techniques for Dynamic Shots
- 6. How to Process Raw Drone Footage for Professional Results
- Common Mistakes to Avoid as a Beginner
- Frequently Asked Questions
Last Updated: August 29, 2026
1. Master the Best Camera Settings for Drone Photography
Drone photography starts with three core controls: ISO, shutter speed, and aperture. These settings work together to determine sharpness, exposure, and usability. Many beginners shoot on auto mode and get flat or motion-blurred footage because the camera compromises across all three variables at once.
Understanding ISO, Shutter Speed, and Aperture
ISO sensitivity determines how responsive your sensor is to light. Lower ISO values (100-400) produce cleaner images with less noise but require more light. Higher ISO values (800-3200+) let you shoot in dim conditions but introduce visible grain. Use the lowest ISO that maintains proper shutter speed for your scene.
Shutter speed controls how long the sensor captures light. Faster shutter speeds (1/500s or higher) freeze motion for bright daylight or fast-moving subjects. Slower shutter speeds (1/30s or lower) create motion blur. For most aerial work, aim for 1/100s to 1/400s depending on lighting and creative intent.
Aperture (f-stop) controls the lens opening. Most drones have fixed apertures, but understanding it helps you work with what you have. Smaller f-numbers (f/2.8) let in more light; larger f-numbers (f/8+) reduce light but keep more of the scene sharp.
Practical workflow: set shutter speed first based on lighting and motion intent. Then adjust ISO to hit proper exposure. For bright sunlight with cinematic motion blur, try 1/200s shutter speed with ISO 100-200.
RAW vs. JPEG: Which Format to Shoot
JPEG files are compressed and processed in-camera, faster to work with but limited in post-processing flexibility. RAW files contain all sensor data unprocessed, giving maximum control during editing but requiring more storage.
For beginners: shoot JPEG if you need quick turnaround for real estate listings. Shoot RAW for professional work where color grading and exposure correction matter. Many drones let you shoot both simultaneously. RAW also captures more dynamic range, letting you recover detail in blown-out skies or underexposed foregrounds during editing.
Using ND Filters for Motion Control
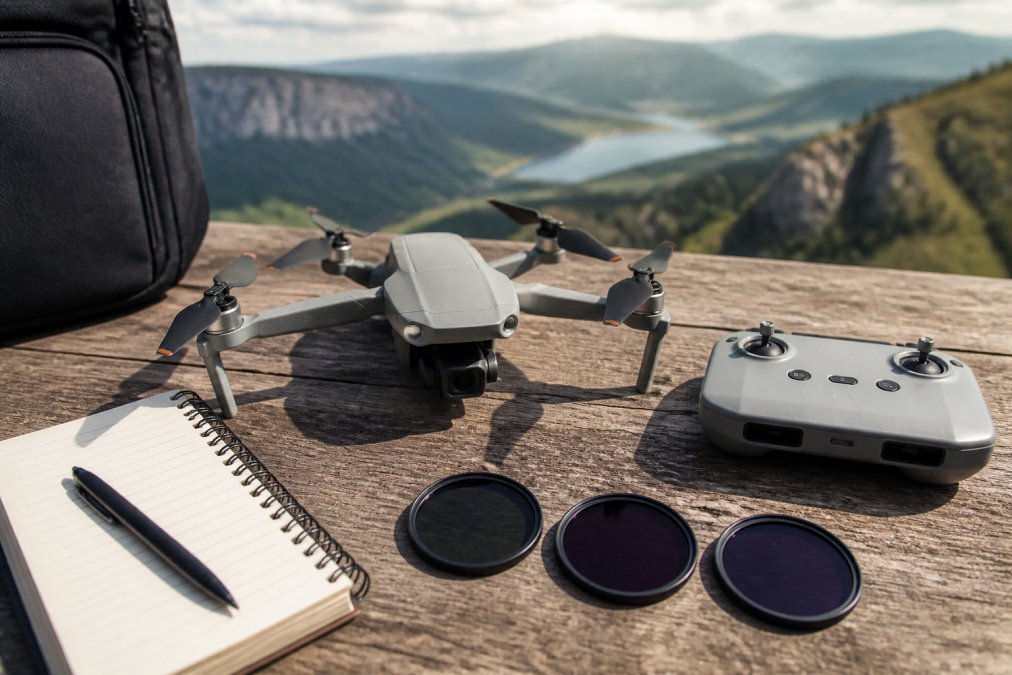
Neutral Density (ND) filters reduce light without changing color, essential for controlling shutter speed in bright conditions. Without an ND filter, bright sunlight forces extremely fast shutter speeds, creating jerky motion. With an ND filter, you can slow shutter speed to create smooth, professional motion blur, the hallmark of cinematic aerial video.
ND filters let you maintain consistent shutter speed across changing light. ND16 or ND32 filters for bright daylight allow shutter speeds around 1/200s even in full sun. PolarPro filters are industry-standard for most DJI and Autel drones, offering multi-coated glass that maintains clarity.
2. Apply Composition Techniques for Better Aerial Photos
Composition is where technical skill meets creative vision. A perfectly exposed image with bad framing still doesn't work. Aerial photography gives you a unique perspective, use it deliberately rather than treating the camera as a documentation tool.
Rule of Thirds and Horizon Placement
The rule of thirds divides your frame into nine equal sections using two horizontal and two vertical lines. Placing key elements along these lines or at their intersections creates more dynamic compositions than centering everything.
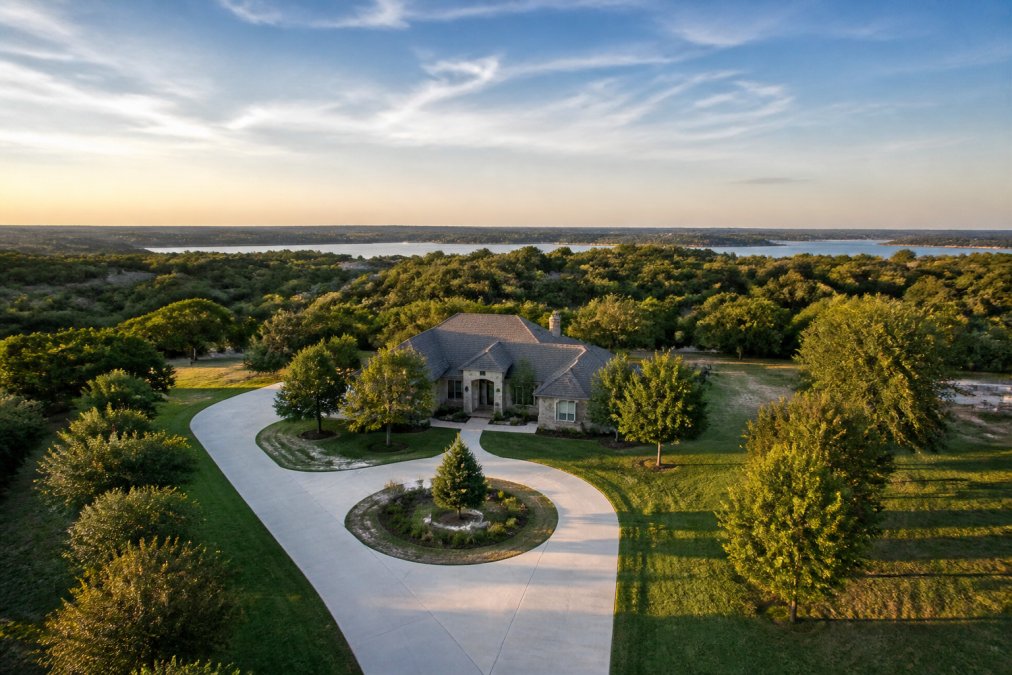
For aerial photography, horizon placement is critical. Position it in the upper third (emphasizing foreground) or lower third (emphasizing sky) rather than centering it. In real estate, place the house at an intersection point rather than dead-center. This simple shift transforms visual impact.
Creating Visual Interest with Depth and Perspective
Include foreground, middle ground, and background elements to create depth. A shot showing a property with surrounding trees, neighboring properties, and distant landscape tells a complete story. Perspective shifts make drone footage compelling: orbit around a subject to show multiple angles, pan across a landscape to reveal scale, hover to let viewers absorb a moment. Each movement serves a purpose.
For construction monitoring, perspective communicates progress. Show the entire site, then move closer to reveal detail work. For search and rescue, perspective establishes location context before moving in on specific areas.
3. Choose the Right Time and Lighting Conditions
Lighting determines whether your images are compelling or forgettable. The best camera settings can't fix poor light, but the right light makes even basic shots look professional.
Golden Hour and Blue Hour Photography
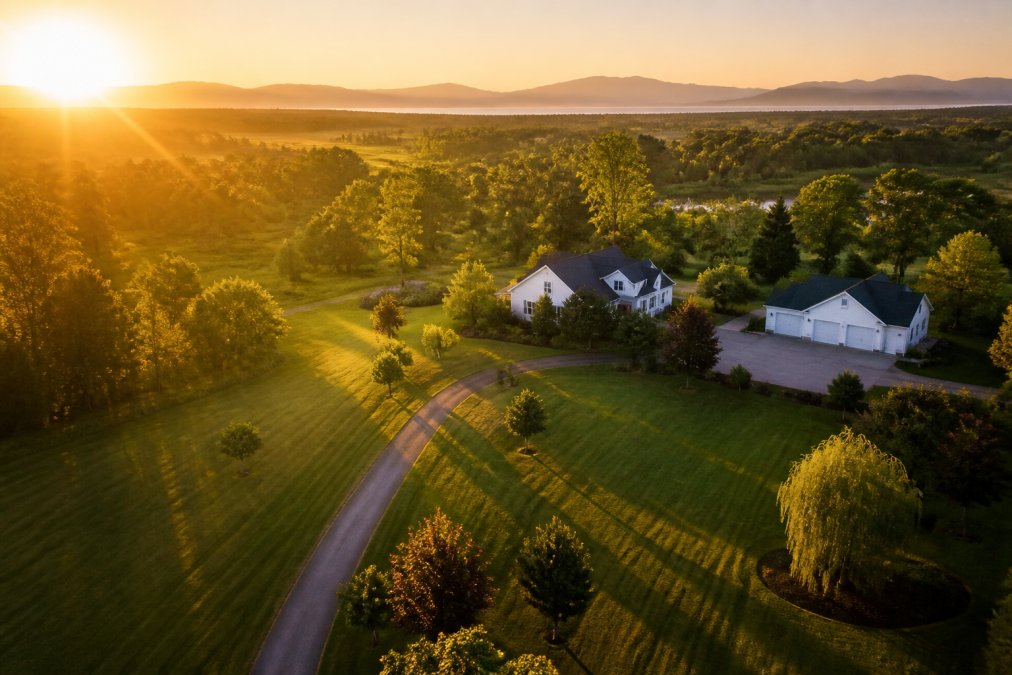
Golden hour, roughly the first hour after sunrise or last hour before sunset, produces warm, directional light that casts long shadows and creates visual depth. For real estate, it makes properties look inviting and highlights architectural details. For agricultural work, it reveals soil texture and crop health.
Blue hour, the brief period after sunset or before sunrise, offers cool tones and even light without harsh shadows. It's ideal for properties with outdoor lighting. Shooting midday is tempting because light is abundant, but overhead sun creates harsh shadows and washes out color. If you must shoot midday, use ND filters and look for overcast conditions.
Managing Dynamic Range and Exposure
Dynamic range is the difference between the brightest and darkest parts of your scene. Drones struggle with extreme contrast, a bright sky and dark foreground often force you to choose which to expose for.
Exposure compensation lets you shift metering to favor highlights or shadows. For landscape shots with bright skies, underexpose slightly to preserve sky detail. RAW format gives you more flexibility to recover highlight detail in post-processing.
4. Understand FAA Part 107 Drone Certification Requirements
If you're flying drones commercially, for real estate, agriculture, construction, or events, you need FAA Part 107 certification. Operating drones for payment without certification carries fines up to $27,500 and potential criminal charges (faa.gov). The Part 107 Remote Pilot Certificate proves you understand airspace rules, weather, safety protocols, and operational limits.
Registration and Airspace Rules
Every drone over 0.55 pounds must be registered with the FAA. Registration costs $5 and lasts three years. You'll receive an N-number that must be marked on your drone.
The United States uses Class A through E airspace, plus uncontrolled airspace. Class B airspace (around major airports) is completely off-limits for recreational drones and heavily restricted for commercial operations. Class C and D airspace requires specific clearance. Class E and uncontrolled airspace is where most commercial drone work happens, but you still need to check altitude restrictions and notify nearby airports.
Use the FAA's B4UFLY app or airmap.com to check airspace restrictions before every flight. These tools show real-time restrictions, altitude ceilings, and TFRs (Temporary Flight Restrictions).
Flight Restrictions and Safety Protocols
Part 107 limits you to 400 feet above ground level, 100 mph horizontal speed, and line-of-sight operations. You can't fly over people (with rare exceptions), can't fly at night, and can't fly under the influence.
Weather is your responsibility. Part 107 requires you to assess conditions and determine whether they're safe for flight. Wind, precipitation, visibility, and temperature all matter. Scout your location and check wind patterns at altitude.
Safety protocols include pre-flight inspection: check propellers for damage, verify battery health, ensure gimbal moves freely, test remote control responsiveness. Brief your client on safety expectations and have an emergency landing plan. Carry liability insurance, not required by law but essential for professional work.
Gods Eye Drone maintains comprehensive Part 107 compliance and current liability coverage across all operations. Our certified pilots conduct formal safety briefings before every flight and maintain detailed flight logs.
5. Master Flight Techniques for Dynamic Shots
Static hovering footage is boring. Dynamic movement, orbiting, panning, ascending, makes drone footage engaging. But dynamic movement requires skill. Jerky, uncontrolled motion looks amateur and can make viewers motion-sick. Every move should serve the shot.
Orbiting, Panning, and Hovering
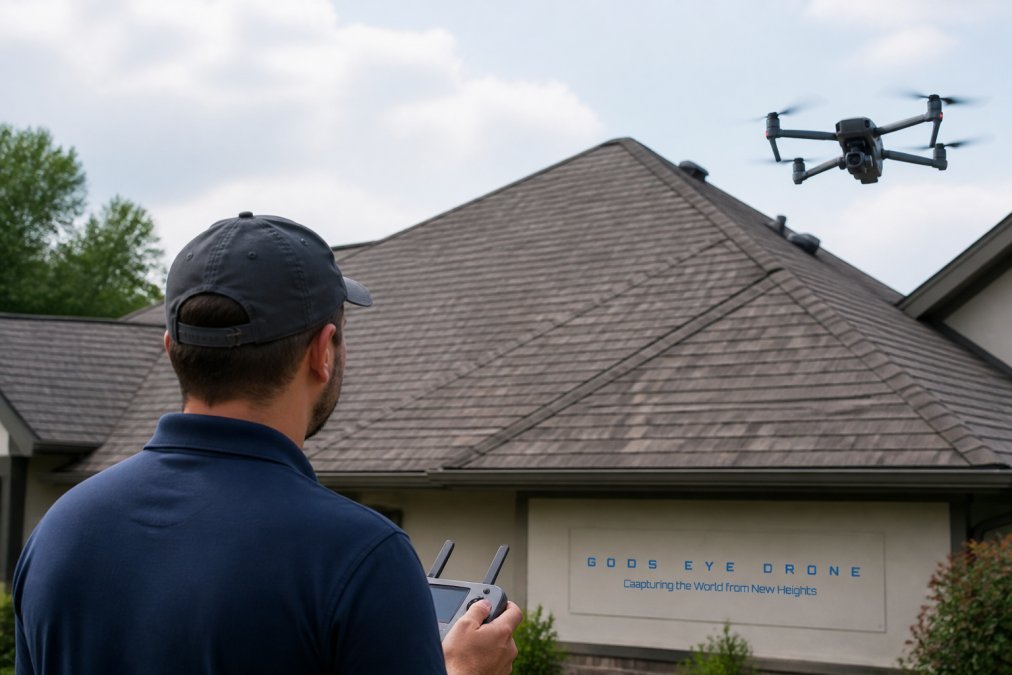
Orbiting means flying in a circular path around a subject while keeping the camera pointed at it. For real estate, orbit around the property to show its relationship to surroundings. Start the orbit slowly; rushing creates dizzying footage.
Panning means rotating the camera horizontally while stationary or moving slowly forward. Use panning to reveal a landscape or follow a subject. Smooth panning at moderate speed is professional; fast panning is jarring.
Hovering means holding position while adjusting camera angle or waiting for action. Use hovering to establish a moment and let viewers absorb a scene. Generally 3-5 seconds is enough.
Gimbal control, the motorized camera mount, is crucial. Most modern drones have three-axis gimbals that stabilize the camera and let you pan independently of drone movement. Practice smooth gimbal movements.
Planning Your Flight Path and Gimbal Control
Before every flight, visualize your shots. Where will you start? What's your first movement? Where does the camera look? This planning prevents aimless flying and keeps you focused on safety.
For property photography, a common sequence is: establish shot from altitude showing the property and surroundings, orbit to reveal scale, descend and move closer to highlight architectural details, pan across the front facade. Each move has purpose.
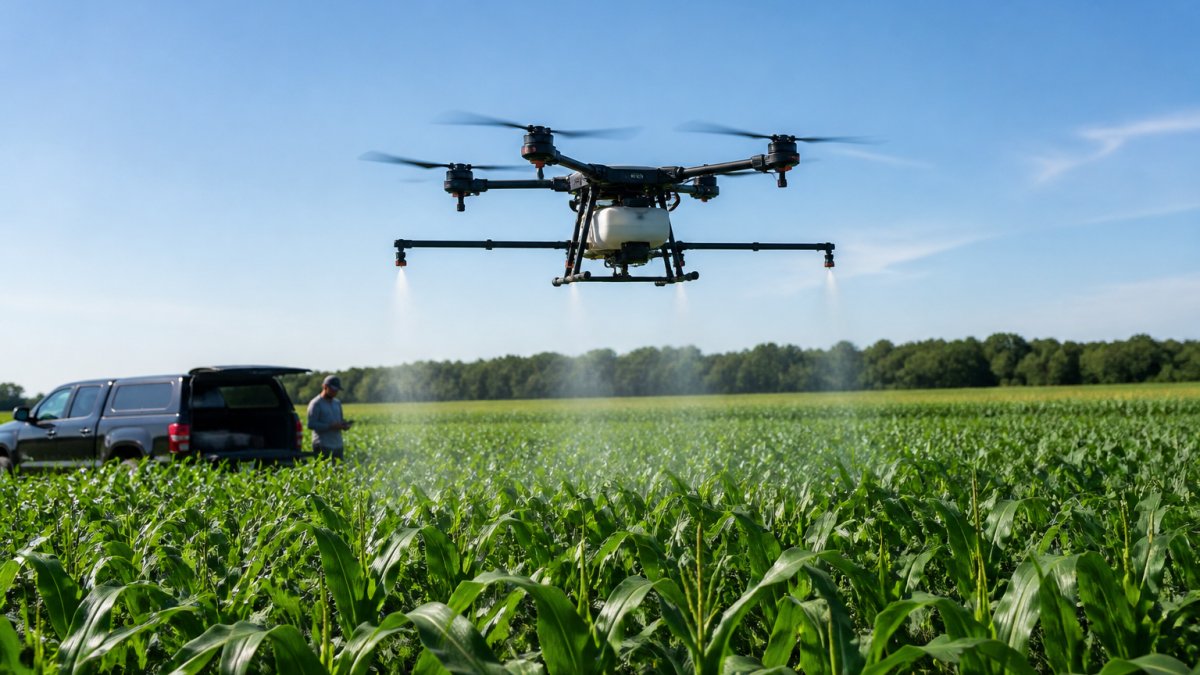
For agricultural monitoring, plan flight paths that cover the entire field systematically. Start at one corner and fly parallel lines across the field, capturing consistent imagery for analysis.
6. How to Process Raw Drone Footage for Professional Results
Raw footage is useless until processed. Your editing workflow determines how quickly you deliver results and how polished the final product looks. Processing includes organizing footage, correcting exposure and white balance, managing dynamic range, and applying consistent style.
Desktop vs. Mobile Editing Workflows
Desktop editing offers power and precision. Adobe Lightroom on a desktop handles RAW files natively and offers advanced color correction tools. For professional work, desktop editing is standard.
Mobile editing offers speed and convenience. Adobe Lightroom Mobile lets you edit on-site for quick client previews. The tradeoff: mobile apps have fewer advanced features and smaller screens make precise adjustments harder.
Practical approach: use desktop for final professional edits, mobile for quick adjustments and client previews. For video, desktop is almost mandatory. Adobe Premiere Pro or DaVinci Resolve handle color grading, motion correction, and effects that mobile apps can't match.
Color Grading and White Balance Correction
White balance determines whether your images look warm or cool. Drones often struggle with white balance in mixed lighting. Shooting RAW gives you flexibility to correct this in post-processing.
Kelvin temperature controls warmth. Daylight is roughly 5500K. Golden hour is 3500-4500K (warmer). Shade is 7000-8000K (cooler). Manual white balance or correction in post-processing ensures consistency.
Color grading is the artistic application of color to create mood and style. Warm tones feel inviting; cool tones feel professional. Saturation and contrast adjustments add impact. Consistency matters, apply the same grading style to all clips.
Luminar Neo offers AI-powered color grading tools that simplify this process. For more control, Adobe Lightroom's color grading panel gives precise control over shadows, midtones, and highlights.
Common Mistakes to Avoid as a Beginner
Ignoring weather forecasts. Wind above 15 mph makes stable footage difficult. Rain damages electronics. Cold reduces battery performance. Check conditions thoroughly and reschedule if needed.
Shooting without ND filters in bright daylight. The resulting jerky video looks amateur. ND filters are cheap compared to the difference they make.
Centering everything in the frame. Apply composition principles, rule of thirds, leading lines, depth, and your footage improves immediately.
Flying without a clear shot plan. Visualize your shots before flying to avoid wasting battery and footage.
Skipping white balance correction. Correct white balance in post-processing or set it manually before flying.
Overcomplicating movement. Constant orbiting and panning exhausts viewers. Mix dynamic movement with static moments.
Not checking airspace before flying. Use B4UFLY or airmap.com every single time. This is a legal and safety issue.
Assuming your drone's auto settings are good enough. Manual control over ISO, shutter speed, and exposure compensation separates professional results from documentation.
Drone photography skills develop through intentional practice. Start with a single technique, master orbiting, learn white balance correction, or study composition, then add the next skill. Within weeks, your footage will look noticeably more professional.
For commercial work, invest in proper training through Drone Pilot Ground School's FAA Part 107 certification course, which prepares you for legal compliance. For photography technique, Pilot Institute's Drone Photography & Videography Masterclass covers practical skills from beginner to professional level.
Equipment matters less than your understanding of how to use it. A DJI Mini 4 Pro or Autel EVO Nano+ with disciplined technique will outperform an expensive drone flown carelessly. Focus on mastering settings, composition, lighting, and movement.
When your projects demand professional results, commercial real estate photography, agricultural analysis, construction documentation, or search and rescue support, Gods Eye Drone brings certified expertise and state-of-the-art equipment. Our team handles the technical complexity so your focus stays on the mission. Book Now to discuss how we can deliver the aerial intelligence your project requires.
Frequently Asked Questions
Q: What are the most important camera settings for drone photography beginners?
A: Start with ISO 100-400 in good lighting, shutter speed between 1/100 and 1/500 of a second, and aperture locked at your drone's fixed f-stop. Shoot in RAW format to preserve maximum detail for post-processing. Use exposure compensation to adjust for bright skies. ND filters help you maintain proper shutter speeds in bright conditions, giving you control over motion blur in video. These fundamentals apply whether you're capturing real estate, agricultural, or event footage.
Q: Do I need FAA Part 107 drone certification requirements to fly a drone for photography?
A: Yes, if you're flying commercially, including for real estate listings, wedding videography, or inspection work, you must hold an FAA Part 107 Remote Pilot Certificate. Recreational flying under 400 feet on your own property doesn't require certification, but any paid work does. The exam covers airspace rules, weather, operations, and safety.
Q: What's the best time of day to shoot drone photography?
A: Golden hour (first hour after sunrise or last hour before sunset) produces warm, directional light that adds depth and visual interest to aerial shots. Blue hour (twilight) works for dramatic, moody images. Avoid harsh midday sun, which creates flat, blown-out highlights and heavy shadows. Overcast days offer even, diffused light good for real estate and detail work. Wind is typically calmer in early morning, which helps with image sharpness and flight stability.
Q: Should I shoot RAW or JPEG for drone photography?
A: Shoot RAW whenever possible. RAW files preserve maximum image data, giving you flexibility in post-processing for exposure correction, white balance adjustment, and color grading. JPEG is compressed and loses detail. RAW files are larger and require more storage and processing time, but for professional work, real estate listings, inspections, event coverage, the quality difference is worth it. You can always convert RAW to JPEG after editing.
Q: How do I improve composition in aerial drone photography?
A: Apply the rule of thirds by placing your horizon and key subjects off-center. Look for leading lines like roads, rivers, or building edges to guide the viewer's eye. Vary your altitude and angle to create depth, use top-down shots for patterns and detail, wider angles for context. Avoid clutter; negative space draws attention to your subject. Plan your flight path before takeoff. Study successful aerial images to understand how perspective, framing, and altitude create visual interest in your shots.
This article was written using GrandRanker